Installing BetterTTV takes minutes. Learning its settings takes a little longer : not because they are complicated, but because there are many of them, and the panel does not explain which ones matter for you. The good news is that you do not need most of them. A viewer needs three or four. A moderator needs a few more. A streamer needs a different few again.
This guide goes through the settings group by group, in plain language, using the feature list from the official BetterTTV website. It also covers the two rules that prevent most settings trouble: change one thing at a time, and leave the defaults alone until you know you want something different.
How to open BetterTTV Settings
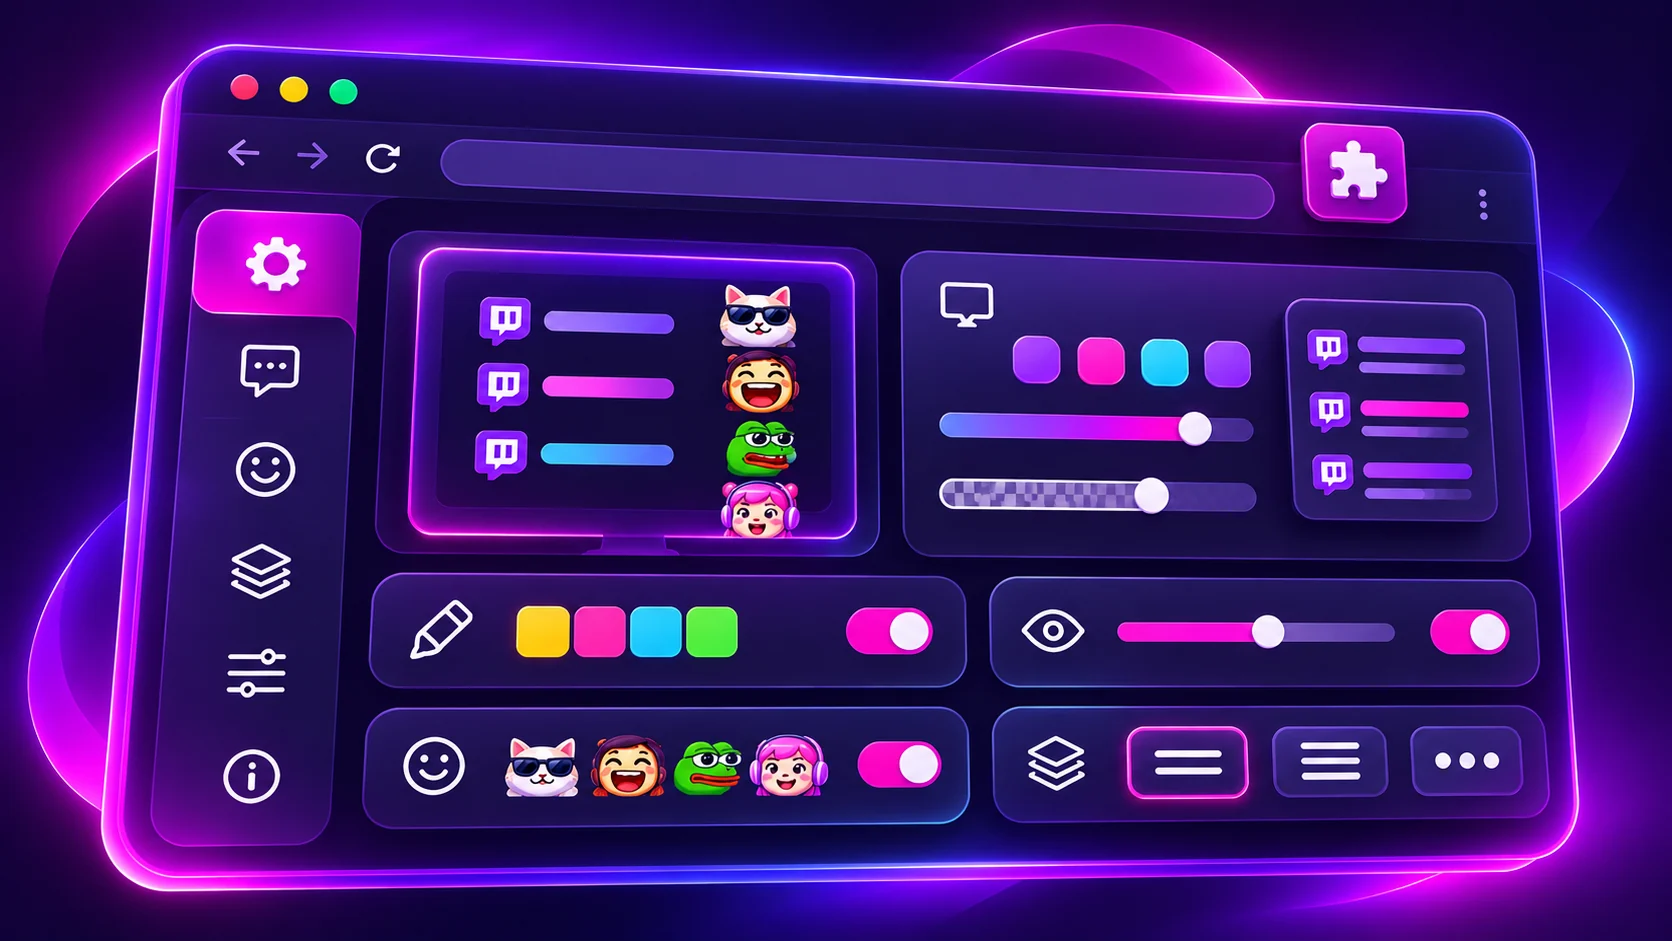
Open Twitch in the browser where BetterTTV is installed and enabled, then open BetterTTV Settings from the chat area. The settings live inside the Twitch page : there is no separate app or options page to hunt for. If you cannot find the settings option, check first that the extension is enabled in your browser's extension manager and refresh the Twitch page; a page loaded before installation does not show the settings at all.
Once the panel is open, take a minute to read it before changing anything. Every setting has a short description beside it. The descriptions are short, but they are the official explanation of what the setting does : and reading them is faster than guessing and undoing a change later.
The two rules of changing settings
Before the groups, two rules that apply to all of them.
Rule one: change one setting at a time. If you change five things and chat looks wrong, you have no idea which change did it. Change one option, look at chat, and only then change the next. This is the single most useful habit in this entire guide.
Rule two: refresh when asked. Some settings apply immediately. Others need a page refresh before they take effect. If a setting you just changed does not seem to do anything, refresh the Twitch page before deciding it is broken.
Chat appearance: making fast chat readable
The appearance settings change how chat looks, not what it contains. They matter most in busy channels, where hundreds of messages a minute make chat a blur.
- Split chat lines. Adds spacing between messages so individual lines are easier to follow. This is the first appearance setting most people should try : it costs nothing and helps immediately in fast chat.
- Split chat colours. Colour-codes alternating chat lines, which makes it easier to track where one message ends and the next begins when messages are short.
- Readable username colours. Adjusts username colours so names stay legible against the chat background. Some usernames are hard to read in dark mode; this fixes that.
- Localized usernames. Shows usernames in their local form where available, which helps when a name looks different in its original script.
- Chat on the left. Moves chat to the left side of the video instead of the right. A matter of preference : and of screen layout, if you keep something else on the right.
- Reverse chat direction. Puts the newest messages at the top instead of the bottom. Most people read chat bottom-up by habit, but some prefer top-down, especially when they are reading while doing something else.
Try these in a busy channel, not a quiet one. In a slow chat, none of them look like much. In a channel with a thousand people typing, split lines and split colours are the difference between following a conversation and giving up on it.
Finding what matters: keywords, highlights and blacklists
These are the settings that turn chat from a flood into something you can actually follow.
- Highlight keywords. Pick words : your username is the obvious first one : and every message containing them stands out. In a fast channel, this is how you notice when someone is talking to you. Add the names of games, topics or people you care about, and they will catch your eye the same way.
- Pinned highlights, with a sound. Pin a highlight so it stays visible, with an optional sound alert. Useful when you are watching a stream while doing something else and want to be told when something relevant is said.
- Highlight first-time chatters. Makes first messages from new viewers stand out. Streamers use this to welcome people; viewers use it to spot new faces in the community.
- Blacklist keywords. Hide messages containing words or phrases you do not want to see. This is a personal filter : it changes what you see, not what anyone else sees, and it does not affect moderation.
- Tab completion, emotes first. When you press Tab while typing, emotes come first in the suggestions, so you can insert an emote without typing its full name.
- Bot command autocomplete. Get suggestions while typing bot commands in chat, which saves memorizing command syntax.
A practical tip for keywords: start with one or two, not twenty. A highlight list with twenty words highlights everything, which is the same as highlighting nothing. Add words only when you notice yourself missing messages about a topic.
Seeing more: deleted messages and the emote menu
Two settings change what information you can see in chat.
- See deleted links and messages. BetterTTV can show deleted links and messages in chat, so a conversation still makes sense after a message was removed. For moderators, this is a working tool. For viewers, it is mostly about not losing the thread of a conversation.
- Restore deleted messages. Goes further: restores deleted messages in chat. The two settings overlap, and which one you want depends on how much of a removed conversation you want to see.
- Improved emote menu. The emote menu is where you browse global and channel emotes instead of typing names from memory. It is on by default, and it is the fastest way to discover emotes : open it, browse a set, and you will understand in a minute what the extension adds.
Automations: the set-and-forget settings
The automation settings do things for you while you watch. Each one is small; together, they remove a surprising amount of clicking.
- Auto-claim bonus channel points. Claims bonus points without you clicking the chest every time.
- Auto-claim drops. Claims Twitch Drops automatically while you watch.
- Auto-claim moments. Claims moments automatically.
- Auto-enter mod view. Moderators are taken straight into mod view when they open a channel they moderate.
- Auto-join raids. Joins a raid automatically when the streamer raids another channel.
- Auto theatre mode. Switches to theatre mode automatically when you open a stream.
- Click to play. Click the video to play or pause, instead of hunting for the control.
- Scroll for volume. Scroll over the video to change the volume.
None of these change Twitch itself : they change what your browser does for you. Turn on only the ones you actually want. Auto-claim is the most popular group, because it is genuinely useful; auto theatre mode is the most divisive, because some people like choosing their own layout every time.
Hiding the clutter
One setting group exists to remove things: hide visual noise and clutter such as recommended channels, bits, replies, notices and community highlights. Twitch's interface has grown crowded over the years, and this is the extension's answer : a cleaner page with only the parts you care about.
Be selective here too. Hiding everything at once makes the page feel empty, and you may hide something you actually used : replies, for example, are how conversations stay threaded. Hide one thing, watch a stream, and decide whether you miss it before hiding the next.
Anon Chat and privacy
Anon Chat lets you join a channel without showing in the user list. It is a privacy feature: your name does not appear in the viewer list while it is on. It is not a way to hide from moderators : moderation still applies, and your messages are still visible in chat with your name on them. Use it when you want to watch quietly without appearing in the list, not when you want to say something without being seen.
YouTube settings: the beta limits
BetterTTV supports YouTube in beta, and the settings behave differently there. First, you need to agree to the additional YouTube permission : either at installation, or later from BetterTTV Settings. Without it, YouTube stays plain. Second, not all BetterTTV settings are compatible with YouTube at this time. Features built around Twitch : channel points auto-claim, raid auto-join, mod view : have no YouTube equivalent, and some chat display options behave differently on YouTube's chat layout.
The practical approach: enable the YouTube permission, open a YouTube live stream, and check which settings appear and work. Do not assume a setting that works on Twitch will work on YouTube, and do not assume a missing feature is a bug : check the current official information for the YouTube feature list, because the beta changes over time.
Recommended setups
Three starting points, depending on who you are.
Viewer
Leave the defaults. Add keyword highlighting for your username, turn on split chat lines, and browse the emote menu. That is the whole setup for most viewers : everything else is optional.
Moderator
Add auto-enter mod view, show deleted messages, and highlight first-time chatters. Consider pinned highlights with a sound for the words you moderate on. Leave the automations for points and drops off unless you want them.
Streamer
Set up your channel emotes first : settings come second. Then turn on highlight first-time chatters so you can welcome new viewers, and look at the auto-claim options for your own viewing. The streamer guide on this site covers the emote side in full.
Settings for specific situations
The same settings feel different depending on how you watch. Two situations come up often.
Watching while you work
If Twitch runs in the background while you do something else, the settings that matter are the ones that tell you when something needs your attention: keyword highlighting for your username, pinned highlights with a sound, and auto-claim for points and drops so nothing is missed while you are looking away. Hide the clutter : recommended channels, bits, notices : because a background tab does not need them. And turn off anything that pops or flashes, because a background tab that demands attention defeats the purpose of having it in the background.
Big events and tournaments
During a big tournament or a major stream, chat moves faster than any human can read. Split chat lines and split chat colours help most here, because they are the only settings that make a thousand-messages-a-minute chat even slightly followable. Keyword highlighting for the team or player names you care about turns the flood into something you can skim. And this is the one situation where hiding replies and notices genuinely helps : in a fast channel, the threaded replies and system notices are noise. Turn the clutter settings back to normal after the event; a quiet channel does not need them hidden.
When a setting does not work
Three checks, in order. First, refresh the Twitch page : some settings need a reload. Second, check the setting is still switched on; a browser update can switch settings off. Third, check whether you are on YouTube, where not all settings are compatible. If none of those help, the full troubleshooting guide on this site walks through the rest, including extension conflicts and the last-resort reinstall.
And if a setting change made chat worse, just undo it. Settings are not permanent, and the fastest fix for a bad change is the same panel where you made it. Reinstalling the extension resets settings too, but it also wipes your custom settings, so note them down first if you go that route.
The short version
Open BetterTTV Settings from Twitch chat, read the description beside each option, change one thing at a time, and refresh when asked. Start with split chat lines and keyword highlighting, add the automations you actually want, and leave the rest alone. The defaults work : the settings are there to make chat fit how you watch, not to be turned on all at once.